This tutorial will explain how to install multiple Python versions on Ubuntu and manage them with venv.
sudo apt update && sudo apt upgradeInstall software-properties-common, which provides an easier way to manage the repositories from which you install software. Install it by running:
sudo apt install software-properties-commonNext, add the deadsnakes PPA to your system:
sudo add-apt-repository ppa:deadsnakes/ppa
sudo apt update
Now you can install the Python versions you need. For example, to install Python 3.9 and Python 3.10:
sudo apt install python3.9 python3.9-venv
sudo apt install python3.10 python3.10-venv
Setting up venv
Virtual environments are a great way to create isolated spaces for your projects.
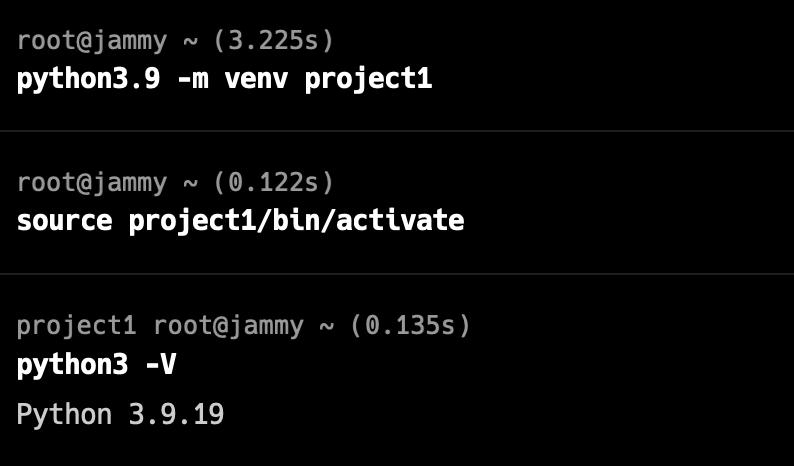
To create a virtual environment for a project that uses Python 3.9:
python3.9 -m venv project1To activate this virtual environment:
source project1/bin/activateYou will notice a prompt change. Now if you execute python -V, it will shows Python 3.9 instead.
Switching Between Python Versions
If you have another project that uses Python 3.10, just set up another virtual environment:
python3.10 -m venv project2
source project2/bin/activate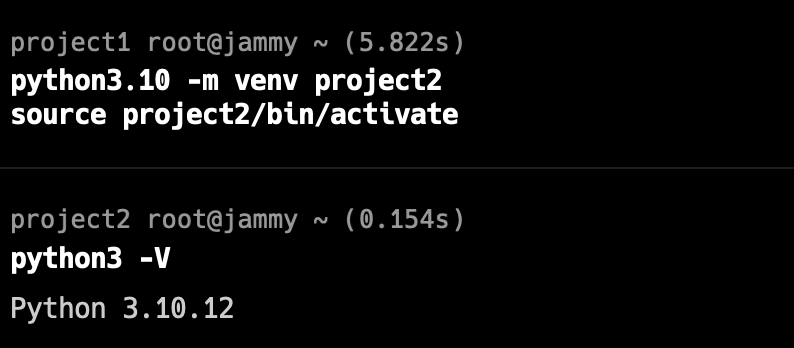
Deactivating venv
When you’re done working in a virtual environment, you can deactivate it by executing:
deactivate
[…] If you’ve already installed Python 3.11, you’ll need to install Python 3.10 instead. Click this link to learn how to install multiple Python versions on […]